Go Back
Powered by
CoEfficient Labs
M13 & a16z
Recaps
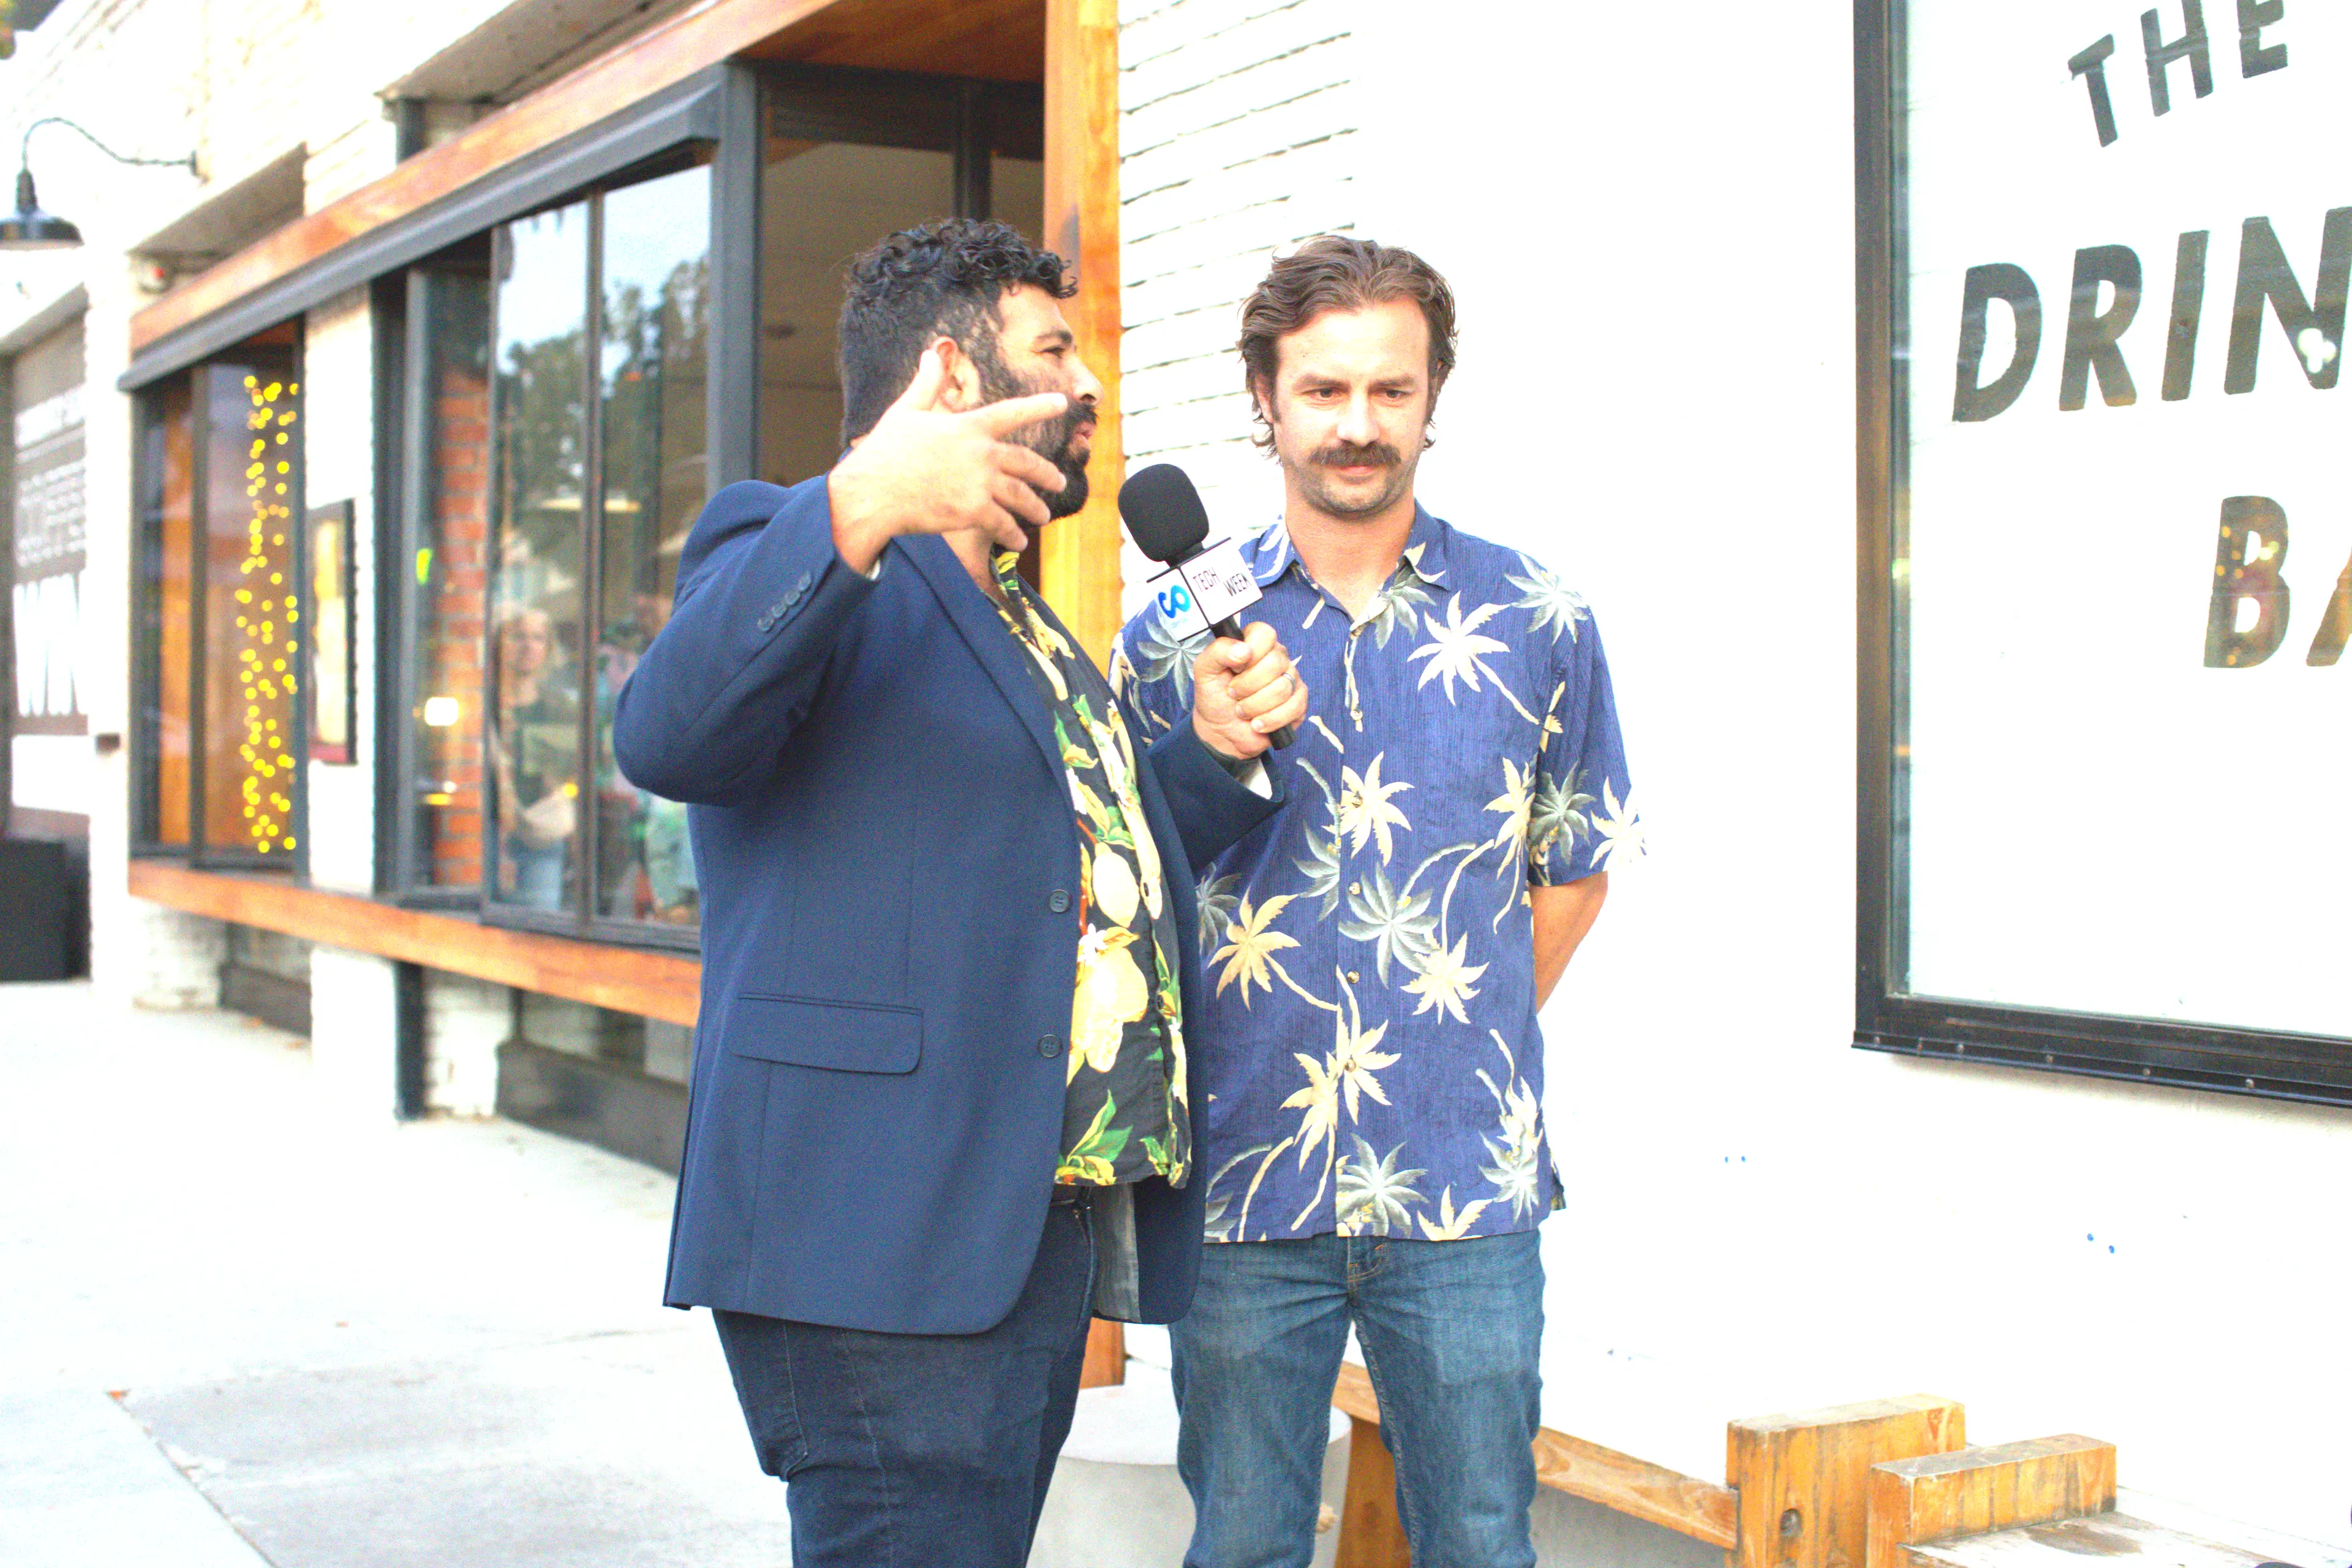
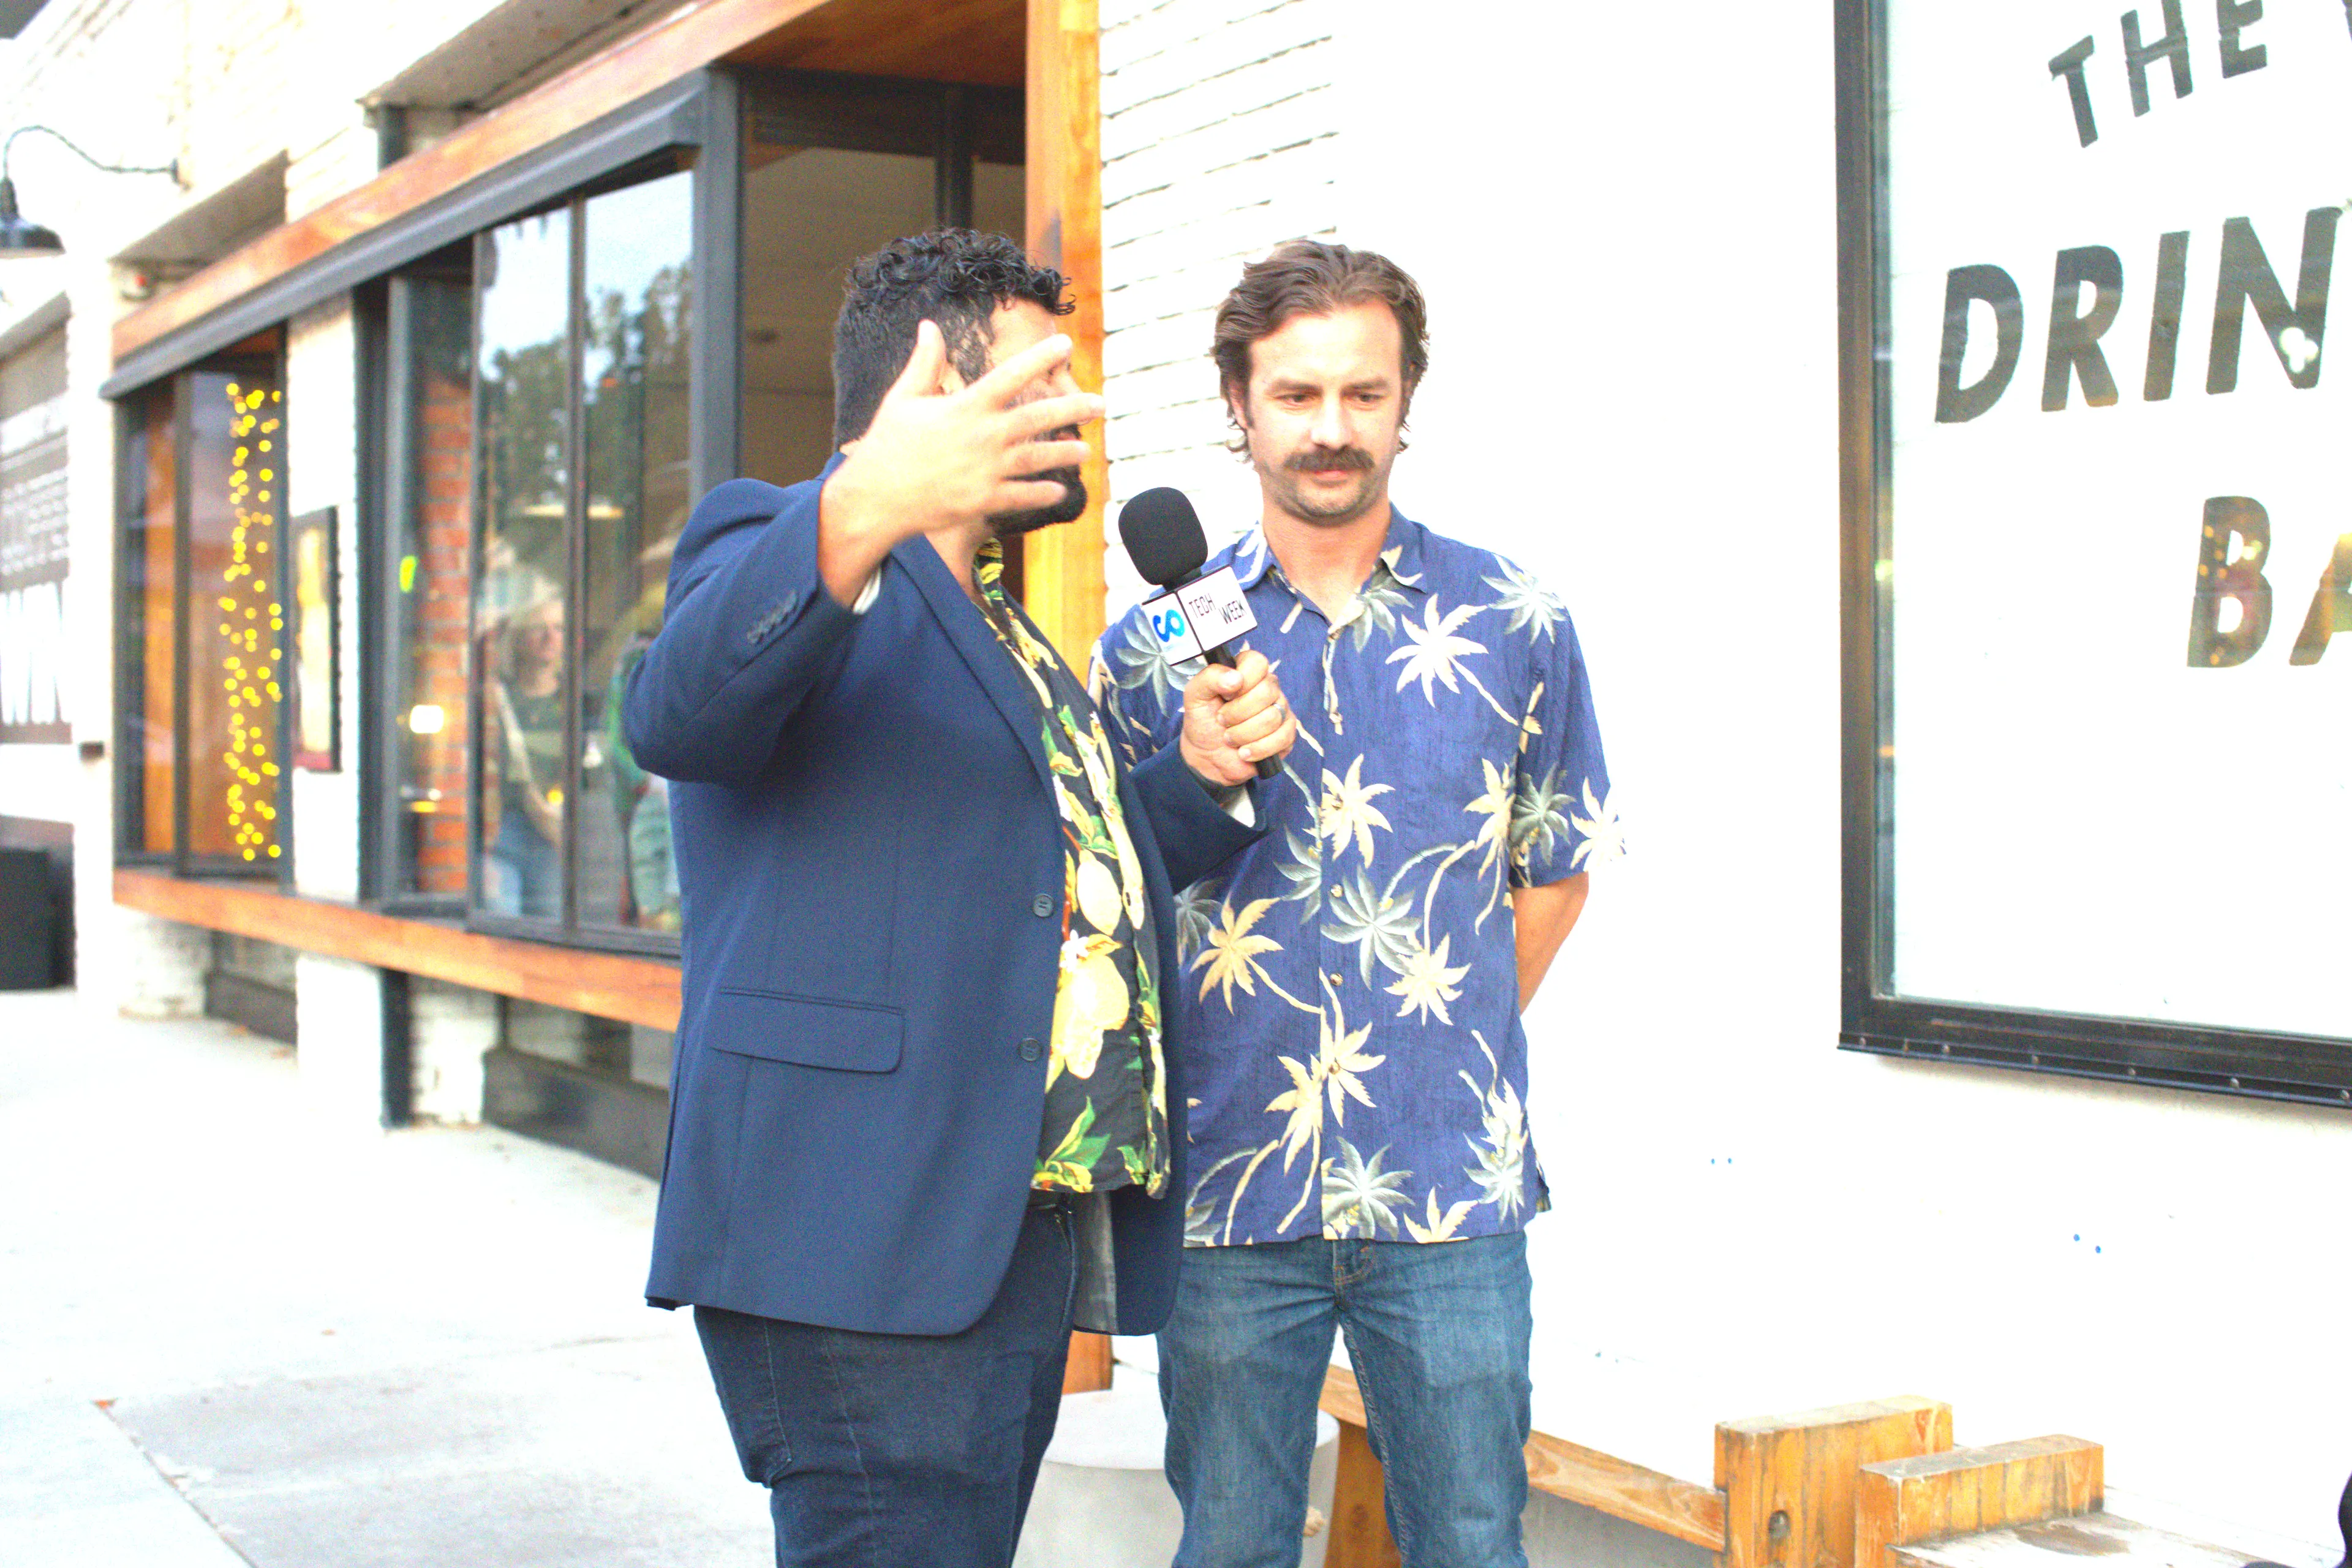
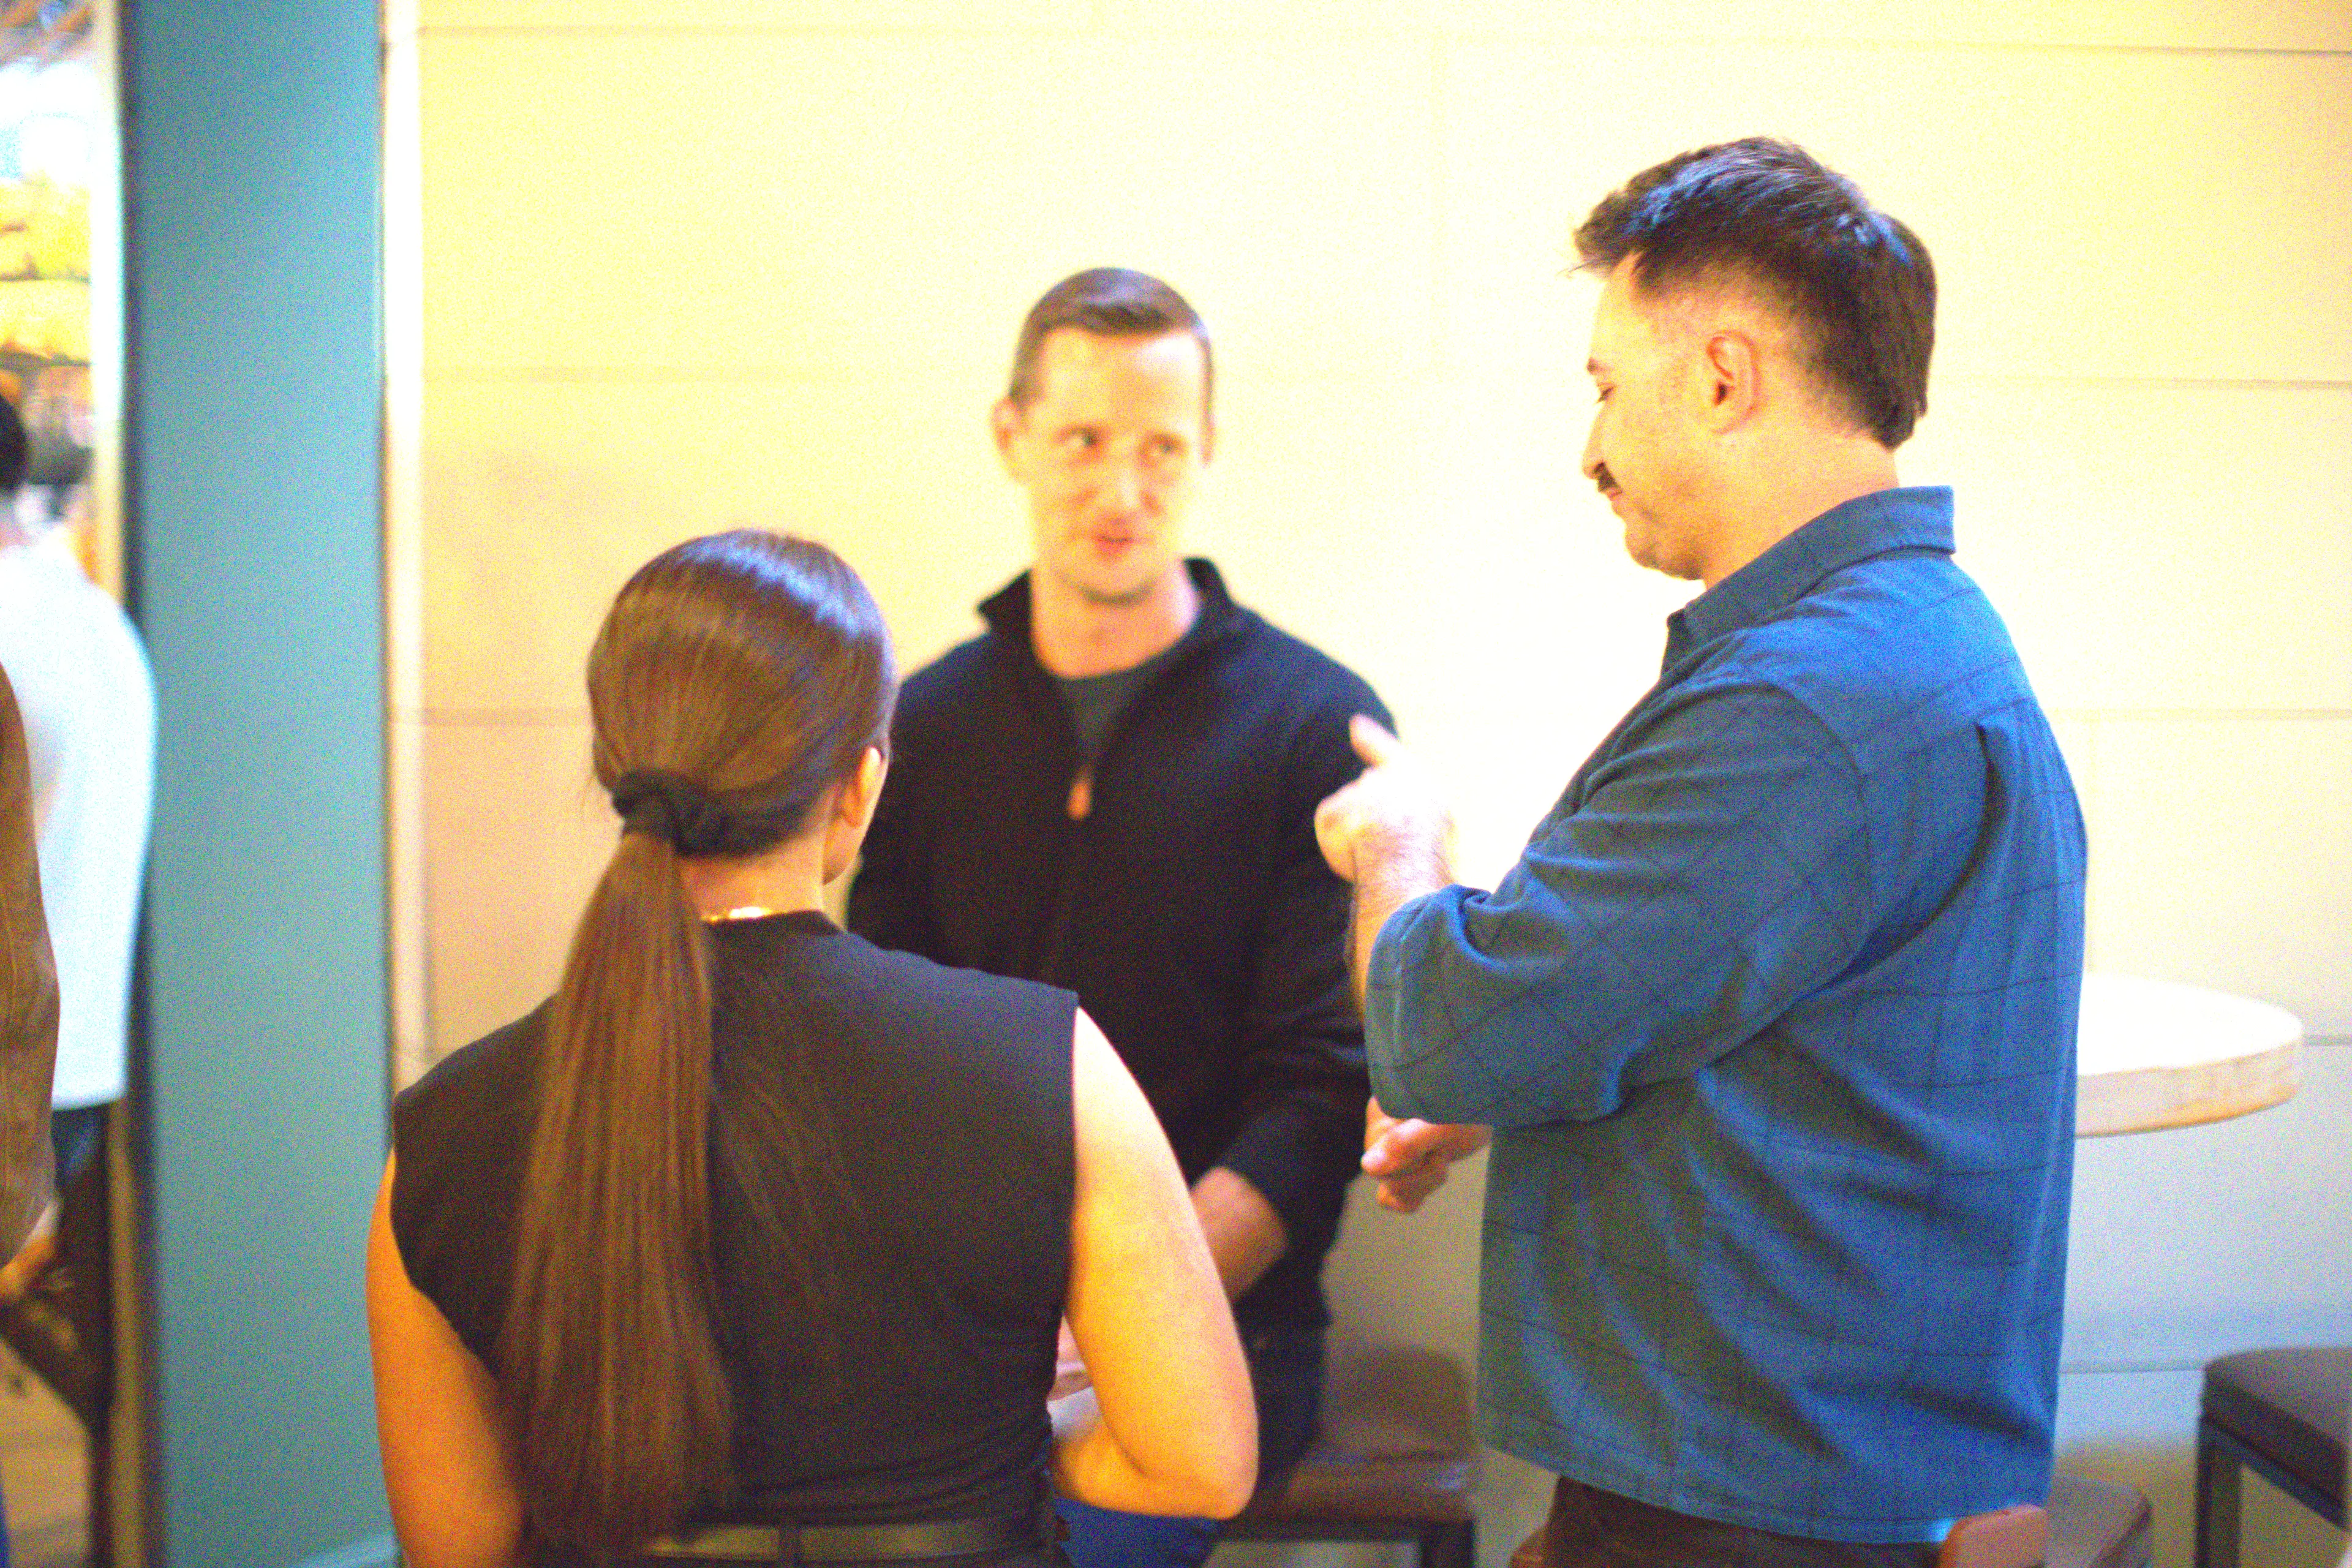
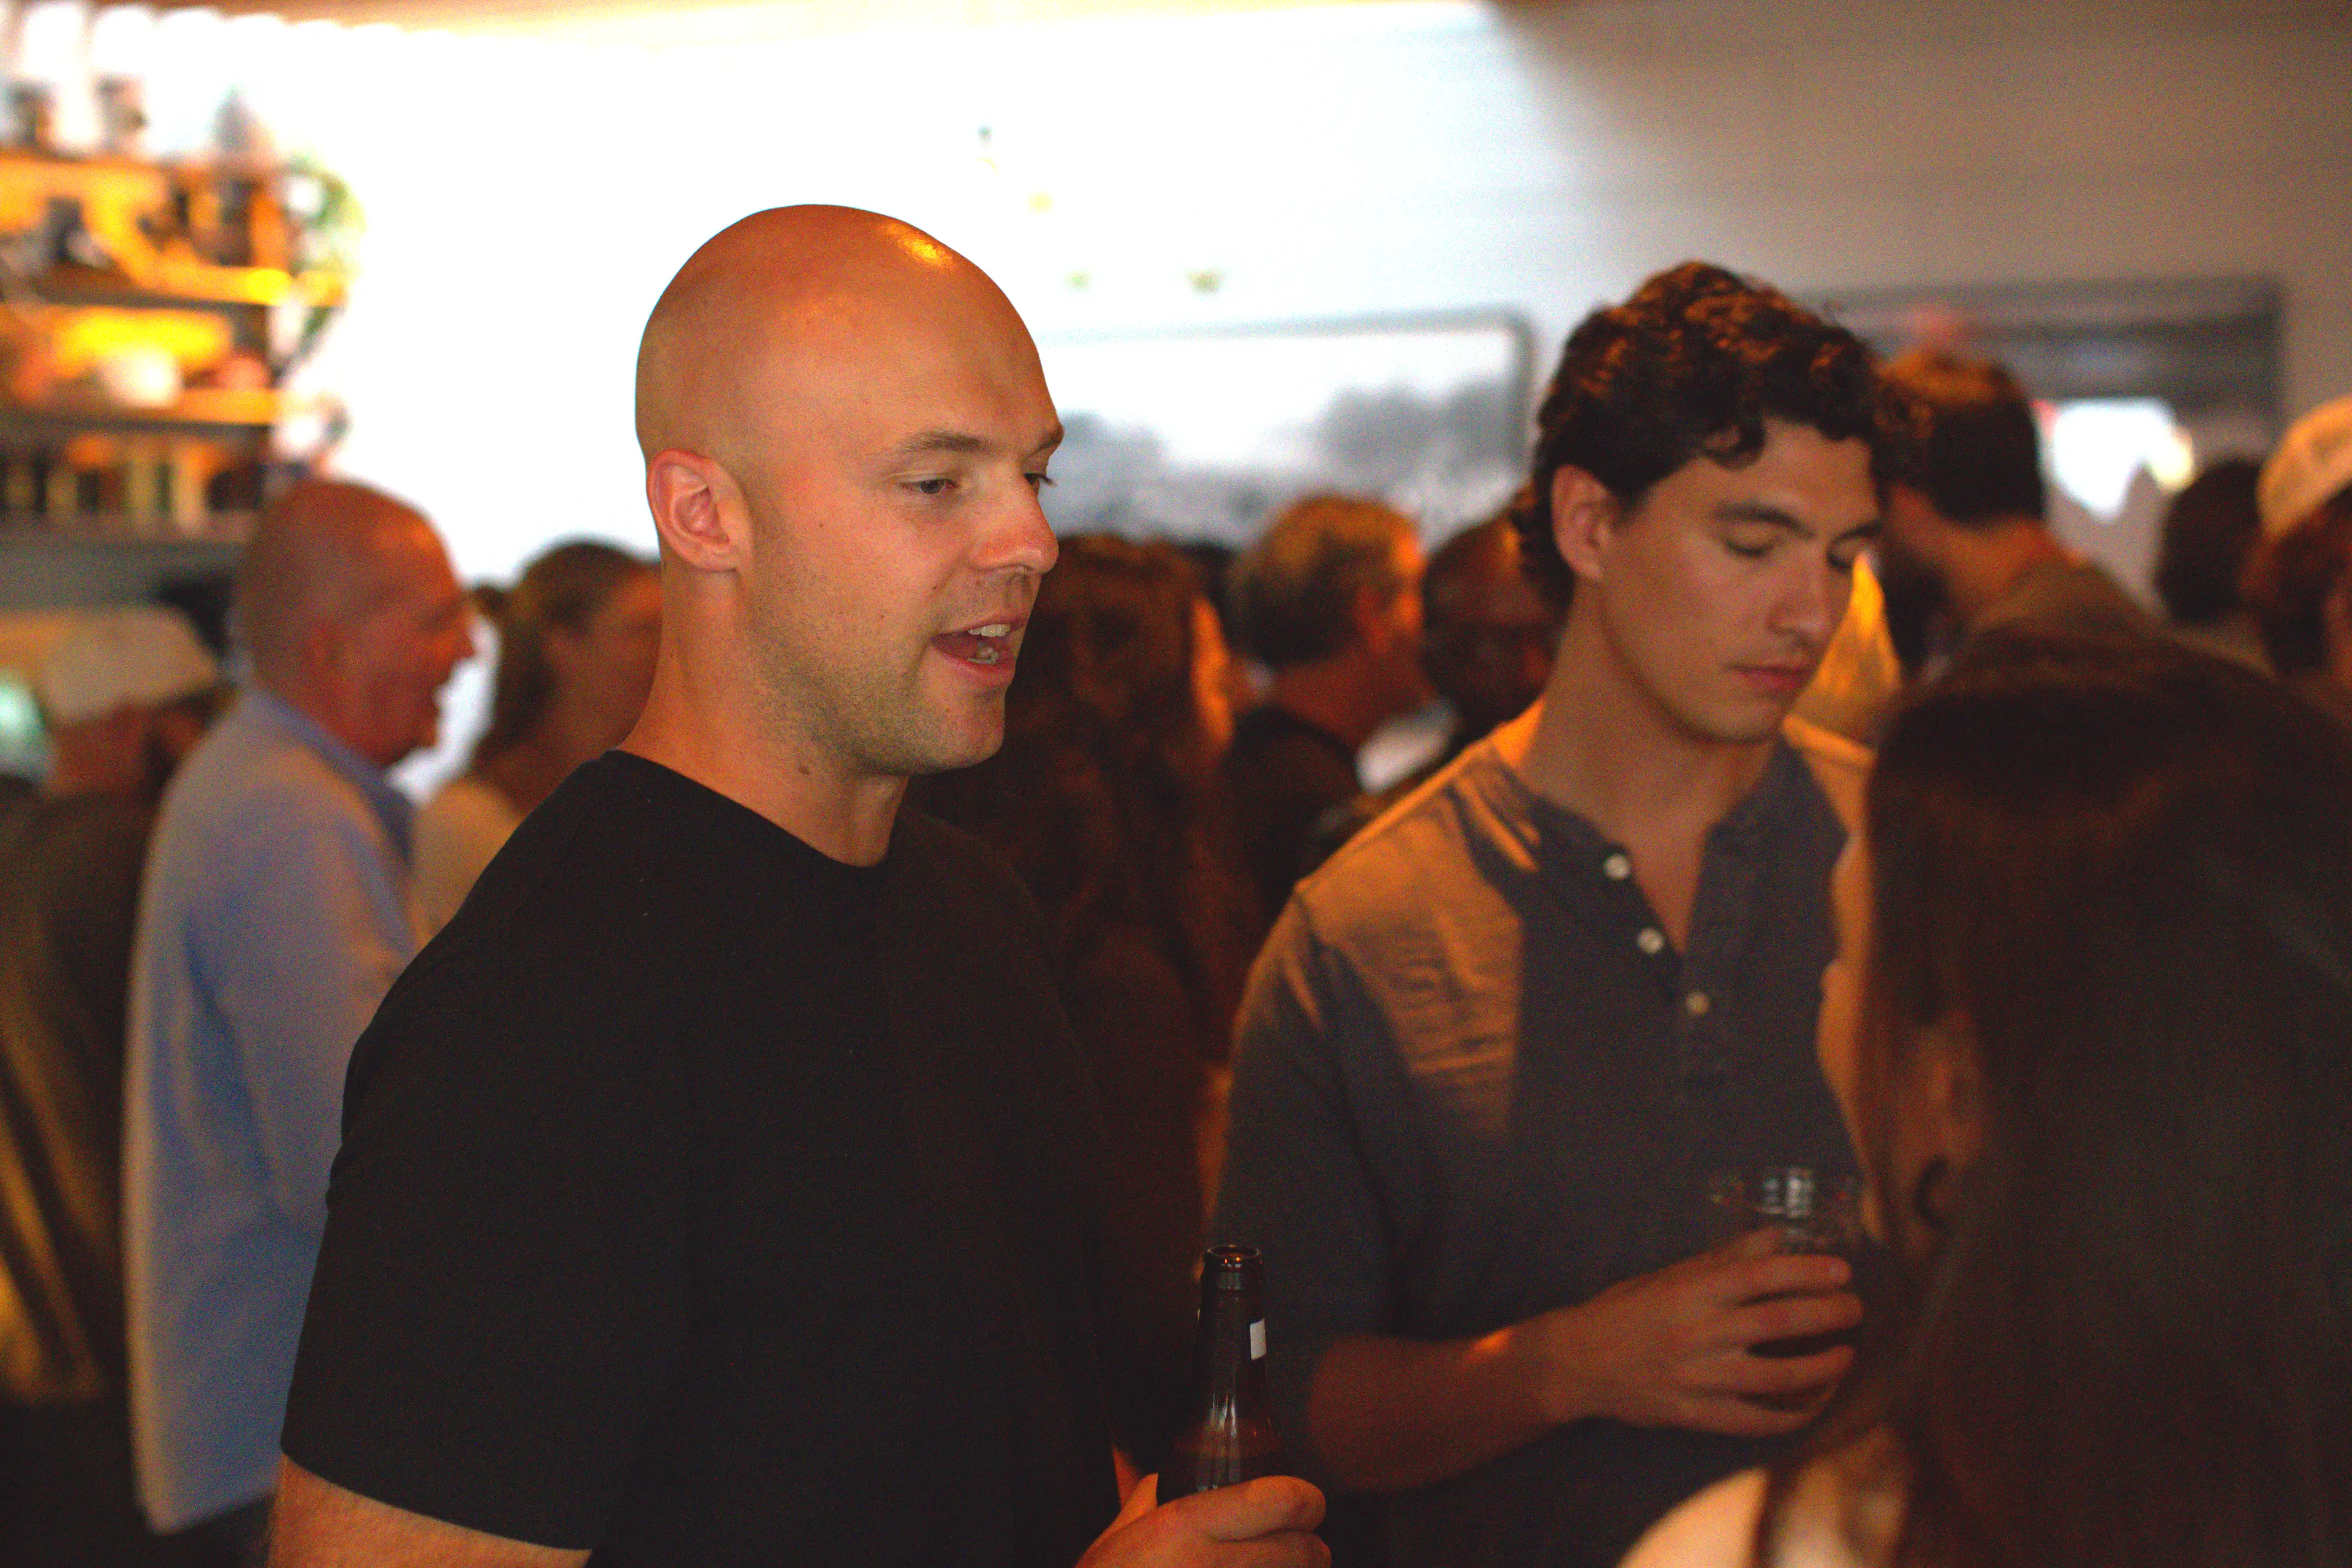
Featured Photos
Need Video Content?
Learn More
 CoEfficient Labs