Go Back
Powered by
CoEfficient Labs
Bam
Recap
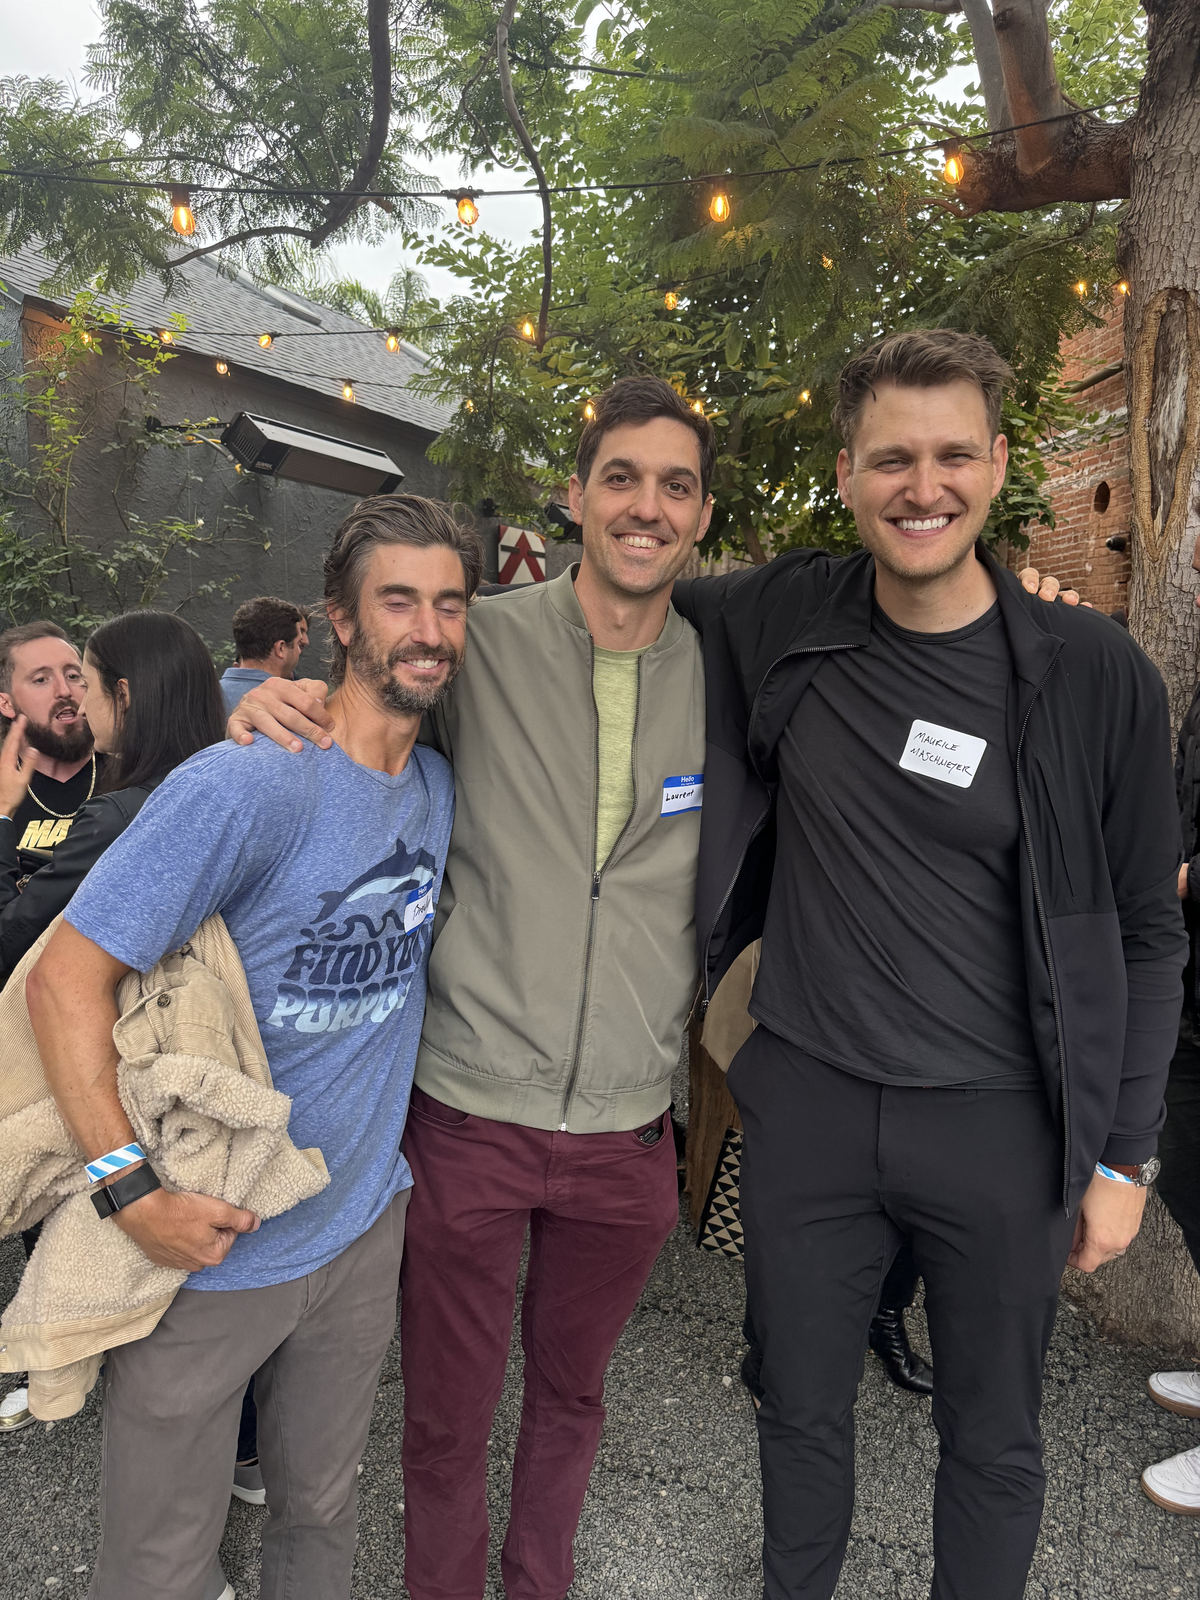
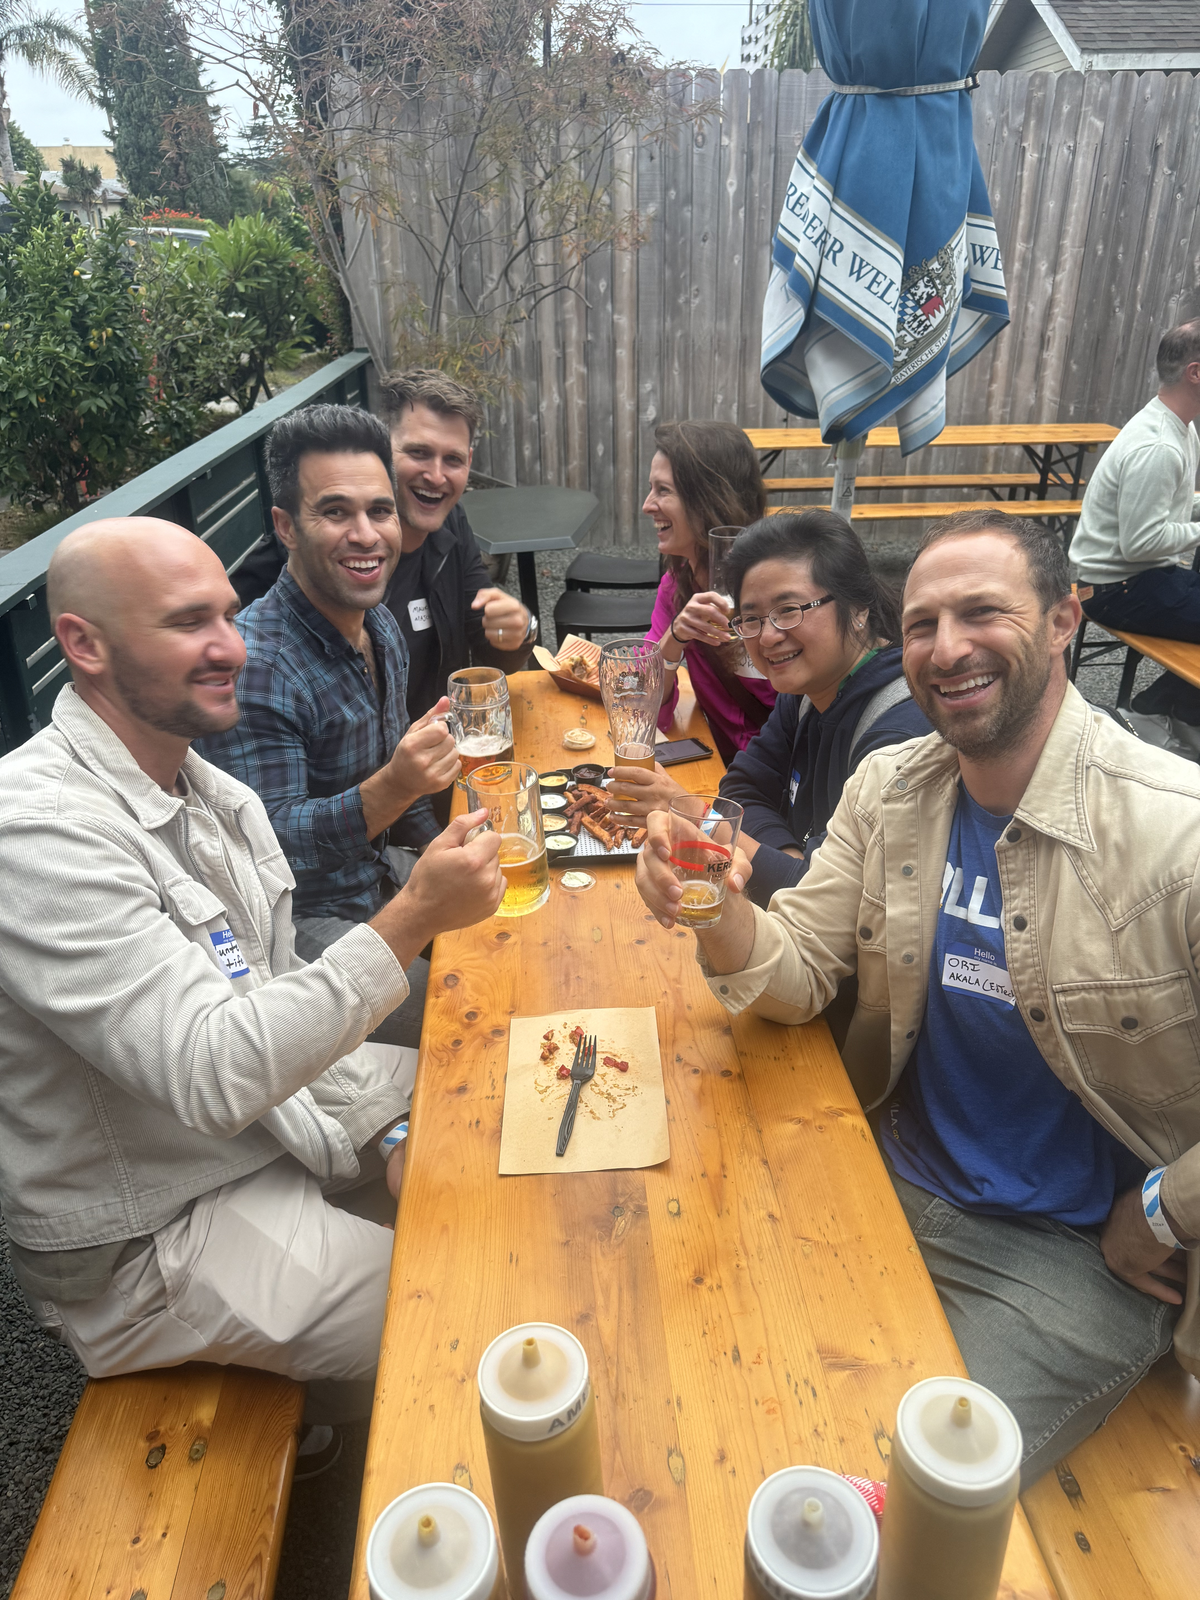
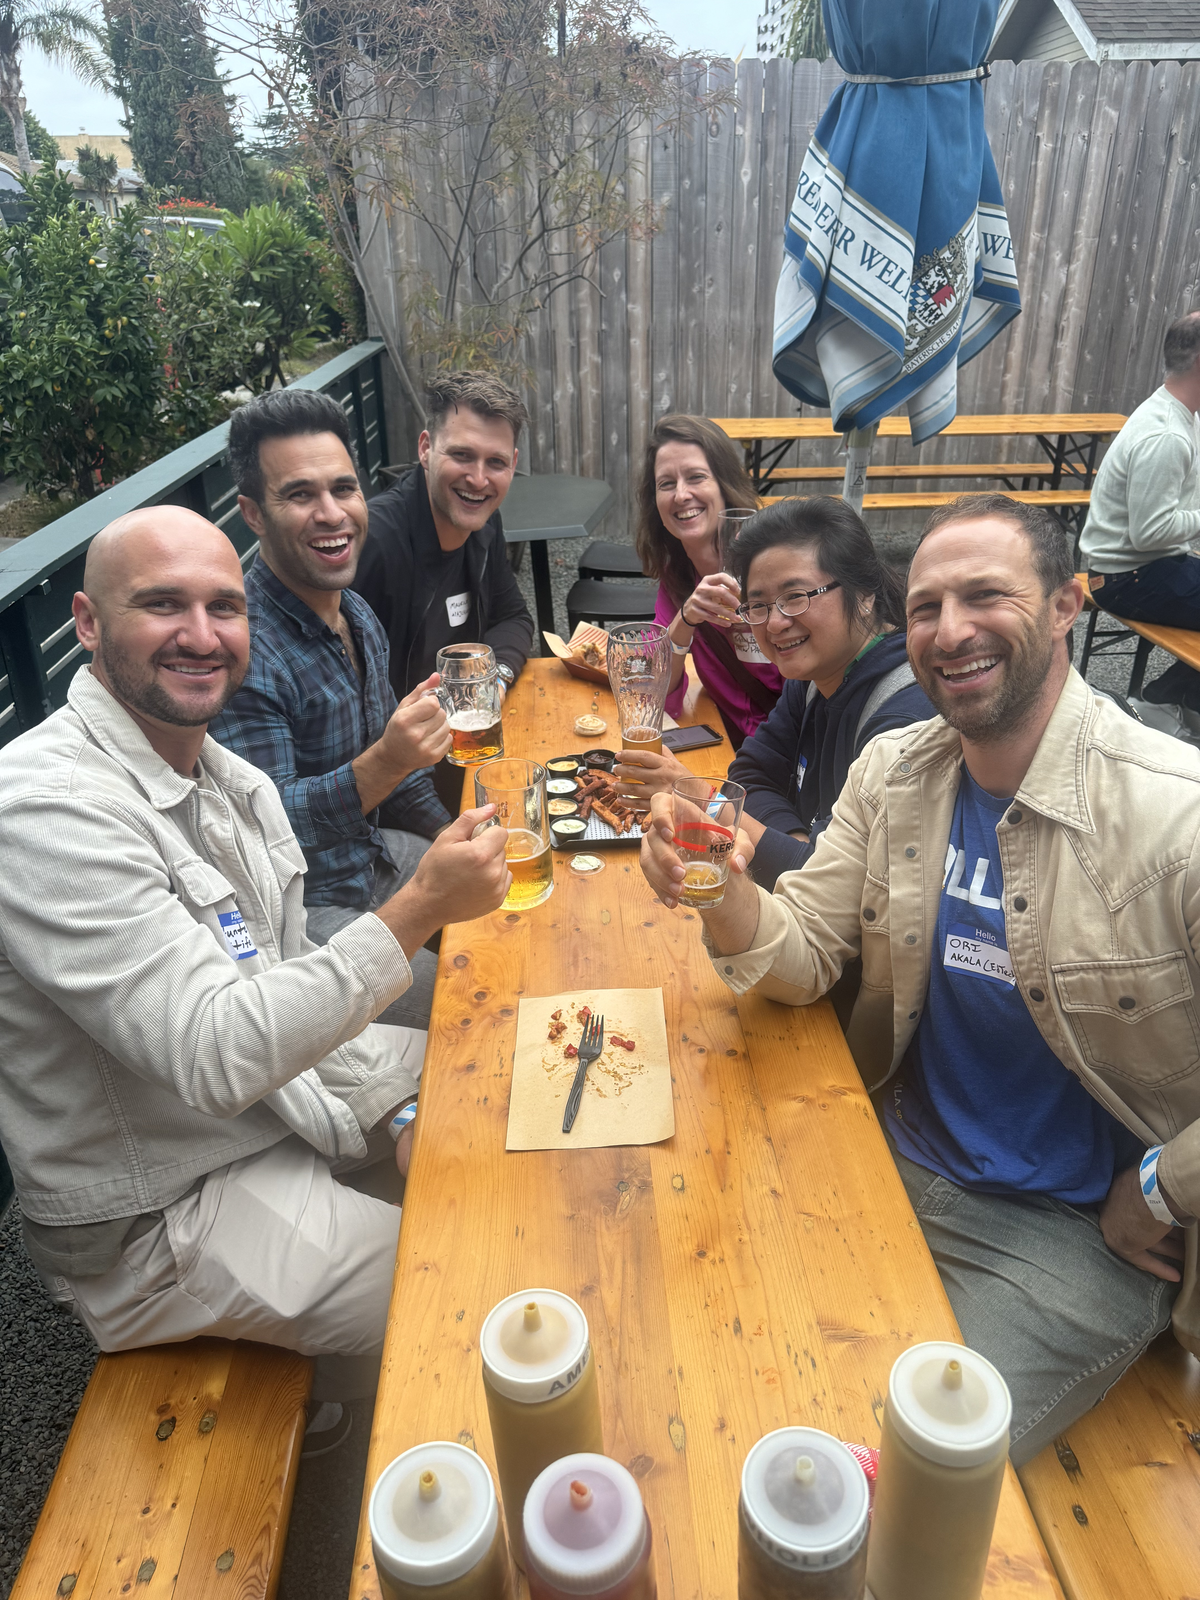
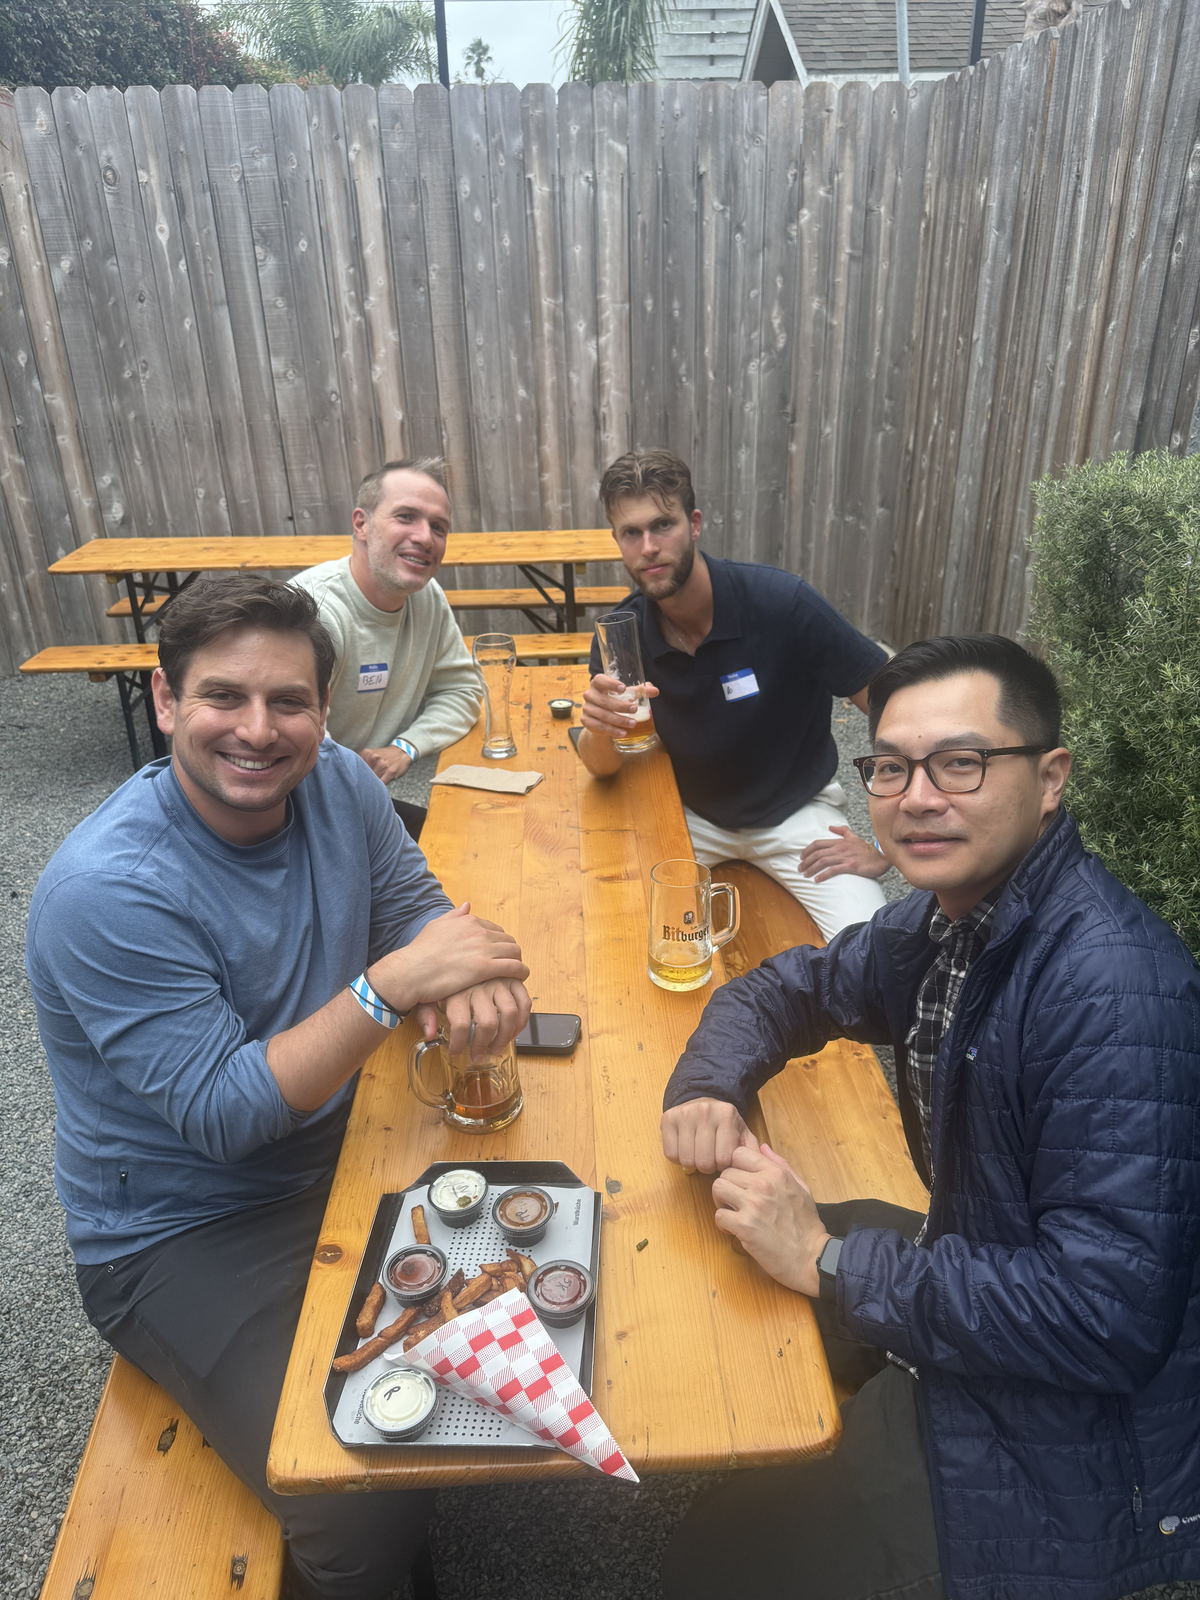
Featured Photos
Need Video Content?
Learn More
 CoEfficient Labs